
· By Kelly Smith
How to Wax at Home? Waxing Tips for Beginners
Waxing at home can be fun! You no longer have to go to a salon to have smooth skin. Using a specialized at home wax kit for sensitive areas. With the right tips and a good kit, you can wax comfortably in your own home. Today we will explain everything you need to know about waxing at home. If you are new to waxing, read this guide carefully and try the steps one by one.
We will also discuss how to get the best results when we use a wax kit at home. Let’s start with this simple guide that can help even a beginner become a waxing pro.
What is Waxing?
It is the process of pulling body hair out from the root. Waxing is chosen by many, for its property of providing a smooth and soft finish to the skin. Waxing doesn't allow hair to grow back quickly, which is another reason it's so sold after. For some people, using the wax kit is really pleasing. These kits come with everything needed, including wax, cloth strips and a waxing spatula.
When you wax, you uproot hair. This means that hair grows back far slower. At first, waxing is hard but with practice, it becomes quite easy.

Why Wax at Home?
Waxing at home has many good points:
-
Savings: It is cheaper than going to a salon every time.
-
Privacy: You can do it in the comfort of your home.
-
Convenience: You can pick the right time to wax without staying in a busy salon.
-
Control: You control every step, so you learn more about your skin.
Use a wax kit to get smooth skin gradually every day. Take it as a hobby that really makes you feel good about yourself. Smooth skin makes you more confident in your clothes.
Can Anyone Wax at Home? Yes, Anyone can try waxing at home! Like learning anything else, it's good to know how to do it properly before spending all that time at home waxing away. And if you have super-sensitive skin, you'll probably want to be extra careful. Most of the time, it is helpful to do it on a small patch first. This way, you know if your skin can handle the wax.
Remember, you need to follow the steps in your kit. All kits have easy steps to follow. And do not worry if you make a mistake. Just keep practicing and soon it will be so easy for you.
How to Choose the Right Wax Kit
There are different types of wax kits for different needs. Among all two most common types are:
At Home Wax Kit
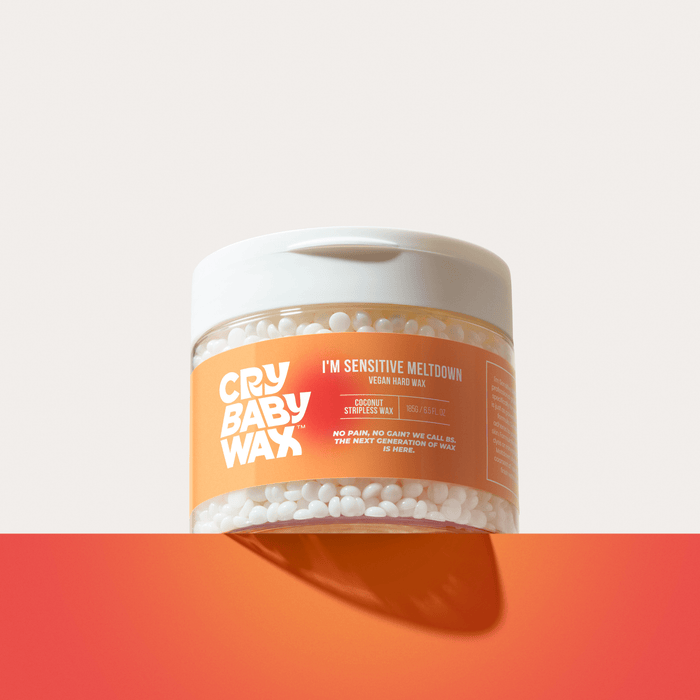
This kit is good for many body parts including arms, legs, and face. It usually has hard wax or soft wax. When you choose a wax kit, look for easy instructions and quality wax.
At Home Bikini Wax Kit
This kit is suited for bikini waxing, with extra gentleness on sensitive skin. You can avoid pain by using your bikini wax kit. Make sure that the instructions are followed so that the sensitive areas are treated gently.
Wax Kit: Getting Ready to Wax At Home
Before starting the waxing procedure, there are several cleaning and pre-wax preparations that are important. The basic steps for pre-waxing preparations are mentioned below:
Step 1: Clean Your Skin
Shower or wash the area for potential waxing with a mild soap or cleanser. This removes dirt and oil. Clean skin means the wax will stick better. You can also trim your hair before waxing according to the American Academy of Dermatology (AAD) for more smoother experience..
Step 2: Dry Your Skin
Make sure the skin is dry. Use a towel to pat the skin. Dry skin helps the wax work more effectively. Wet skin will make the wax hard to use.
Step 3: Read the Instructions
Before you heat the wax, read the full instructions on your kit. This step is very important. The instructions are simple and easy. They tell you how to heat the wax, apply it, and remove it.
Step 4: Do a Test Patch
Try a small amount of wax on a small area. Wait for a few minutes. Doing this test patch can show if your skin will react badly to the wax. If your skin does not get red or hurt, you can continue.
How to Wax: Step by Step
And now stepwise, waxing procedure. It is extremely important to follow these steps. This guarantees safety of your skin and attractive results.
Step 1: Heat the Wax
Get the wax ready by heating. You can use a microwave or a wax warmer if you have one. Do check the temperature. It should be warm enough, not too hot, otherwise you might burn your skin. Gently stir the wax so there is an even distribution of heat.
Step 2: Apply the Wax
With the wax prepared, the next thing to do is apply it to the skin area. Use a spatula contained in the kit. The spatula must be dipped in the wax and then used to apply the wax in a thin layer. Apply the wax against the hair growth direction.
Step 3: Place a Cloth Strip
After you put a thin layer of wax, immediately press a cloth strip onto the wax. Do not wait too long, otherwise the wax may harden too much. Use one hand to press firmly. This makes sure the cloth sticks well to your skin.
Step 4: Remove the Wax
Now comes the fun part! Hold your skin tight with one hand, and quickly pull the cloth strip in the opposite direction of hair growth. Do this fast, one quick motion. Fast pulling minimizes the pain. It might feel a little ouchie at first but it gets better with practice.
Step 5: Clean the Area
After you remove the strip, there might be a little wax left on your skin. Take a piece of clean cloth or a cotton pad with some soothing oil or cream. Gently remove any extra wax. This step helps stop the skin from getting red or sore.
Aftercare: Taking Care of Your Skin
As with waxing, it may be pretty sensitive for a few minutes but it's nothing serious. Here are some simple aftercare measures to keep your skin happy and healthy.
Cool Down the Skin
Put a cool, damp cloth on the waxed area. This helps in bringing down the redness and swelling. Do not use ice directly against the skin.
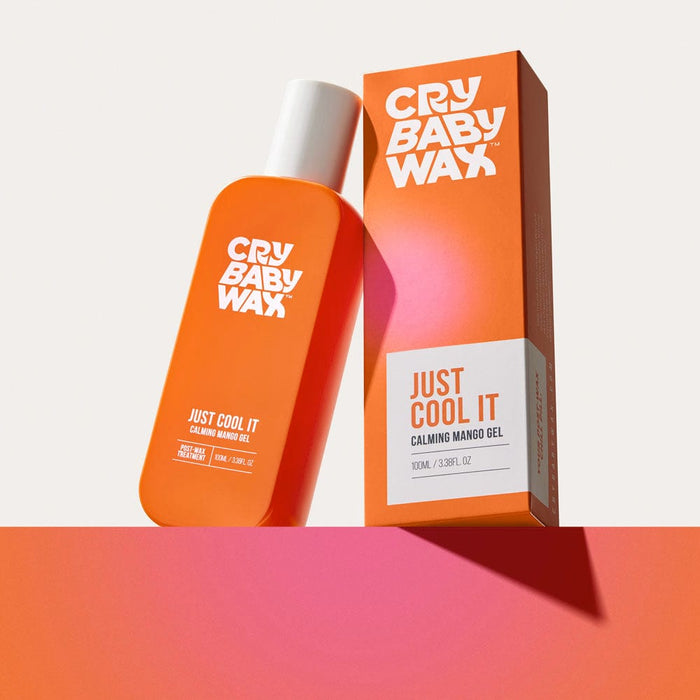
Moisturize
Mild lotion or aloe vera gel on waxed skin for moisturization. This will help keep the skin soft and smooth. It is the key to recovery after waxing.
Avoid Hot Baths or Sun
One should avoid hot baths or showers or the sun for at least 24 hours after waxing since this helps in calming the skin. The sun or heat only adds to the irritation of the skin.
Do Not Touch
Do not scratch or rub the area you have just waxed. This is important to avoid any sort of infection and redness. Let the skin completely breathe.
It is OK to Feel a Little Pain! At the start of waxing many people feel a little discomfort. To help minimize the pain follow these tips:
-
Before starting take deep breaths.
-
Play some soothing music to calm your mind.
-
Keep reminding yourself that it is temporary.
-
With each waxing session, the pain should decrease.
Remember, you're doing it for beautiful, silky skin. You will have more confidence with each waxing session, and it will hurt less.
More tips for a happier waxing:
Here are some more tips to make your waxing experience even better:
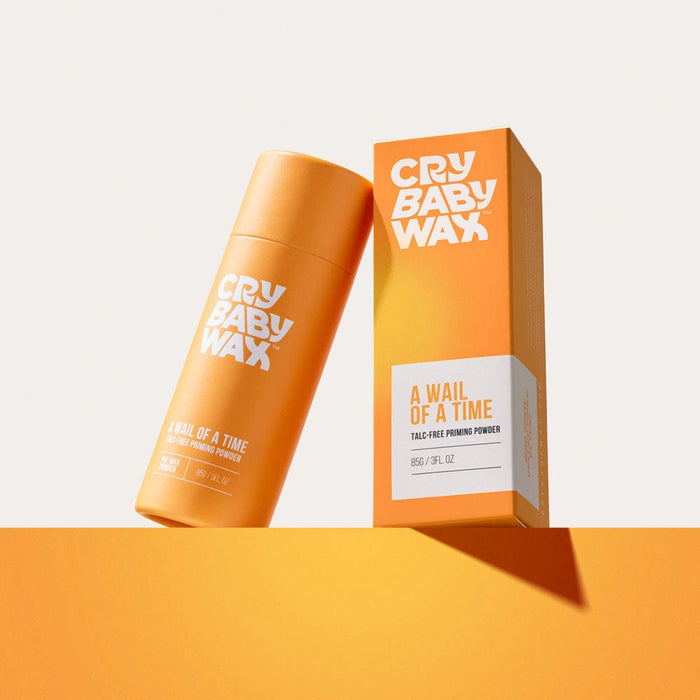
Keep Your Skin Exfoliated
Before you wax, you might like to use a gentle scrub on your skin. This removes old skin cells. Exfoliating helps the wax stick to the hair and not the skin. But do not scrub very hard—just be gentle.
Wax in a Clean Environment
Make sure the room where you wax is clean and quiet. A calm setting can help you relax during the process.
Ask for Help if Needed
Sometimes, you may not see well in the mirror if you are waxing a hard-to-reach place. Ask a family member or friend for help. Two pairs of eyes can make the job easier and safer.
Use the Right Tools
Always use the tools that come with your kit. Do not mix tools or use old cloth strips. Fresh tools give the best result. The wax kits come with everything carefully chosen to give you the best waxing experience.
Practice Makes Perfect
Waxing takes time to learn. Do not worry if it does not go perfectly the first time. Practice a little each time and soon you will be PRO at it. Learning the art of waxing can give you soft, smooth skin that you will love.
When Not to Wax
While waxing at home is easy for many, there are a few times when you should think twice before you start:
-
If you have a skin rash or cuts, do not wax.
-
If your skin is very sensitive or you have allergies, ask a doctor first.
-
Do not wax if you are using certain products on your skin. Always check the instructions.
Your safety is the most important thing. If your skin hurts a lot or if you see a lot of redness, stop waxing and take care of your skin.
Secret Tip: Waxing is more than just a beauty tip—it is a skill that you learn over time. Every time you wax, you understand your skin a little more. It is okay to take a break between waxing sessions.
Let your skin rest and then try again. With each session, you will learn what your skin likes and how to make the process even smoother.
Final Thoughts
A wax kit is simple to use! If waxing is done the right way at home wax kit gives you soft and beautiful skin. Waxing is somewhat tricky in the beginning, but it becomes easier with practice. Always cleanse your skin, read the directions carefully, and treat it after waxing. Following these three simple steps will allow you to reap the rewards of waxing in no time.
Be gentle with yourself. It's perfectly normal for your initial attempts to go awry. Waxing is a step-by-step process, and each step can help you learn something new about skin care. You might even start enjoying the time you carve out for body care!
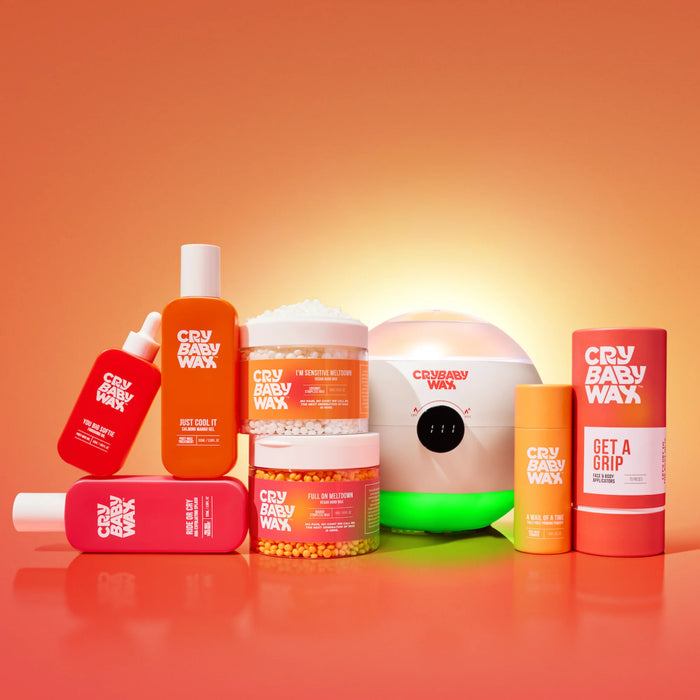
Are you ready to start your waxing journey? Our wax kits are made just for you. They are simple, safe, and easy to use. Visit our website at CrybabyWax.com and get your kit today. Let your true beauty shine!