
· Por Kelly Smith
Smooth Skin Secrets: How to Use a Wax Warmer for Effortless Hair Removal
Every individual looks for a hair removal process with the least possible struggle and hassle.
Now, with numerous methods around, one that lasts the longest is waxing. But how about canceling your salon visits altogether and still having professional results in the comfort of your very home? It is where the wax warmer comes into play!
In this blog, we’ll share the smooth skin secrets to using a wax warmer for hair removal in an effortless manner. If you’re a waxing newbie or a seasoned pro, you’ll love how easy it is to achieve smooth, soft skin without the mess.

Why Wax? The Advantage of Hair Removal Using a Wax Heater
Now, let's just have a minute to discuss the merits of waxing before we begin to learn how to use a wax warmer.
1. Long-lasting results
Unlike shaving, which only removes hair at the surface, waxing pulls hair out by the root. This means your skin stays smooth for a lot longer—typically 3 to 6 weeks!!
2. Lesser irritation
Shaving often causes cuts and nicks. Waxing, in fact, allows for exfoliation at the same time when hair removal takes place, so you get this glowing, silky, soft skin and no razor burns.
3. It saves money
It is pretty common for people to get regular visits at salons. On the other hand, the wax warmer allows you to bring waxing in your pyjamas. Can something get any better than that?
To learn more about the benefits of a wax warmer, you can check out this
Okay, moving forward and diving into how one should use the wax warmer to achieve hair removal safely and successfully.
How to Use a Wax Warmer for Hair Removal in an Effortless Way
Step 1: Collect All Supplies Needed
Make sure you have everything you need. Here’s a quick list:
-
Wax warmer
-
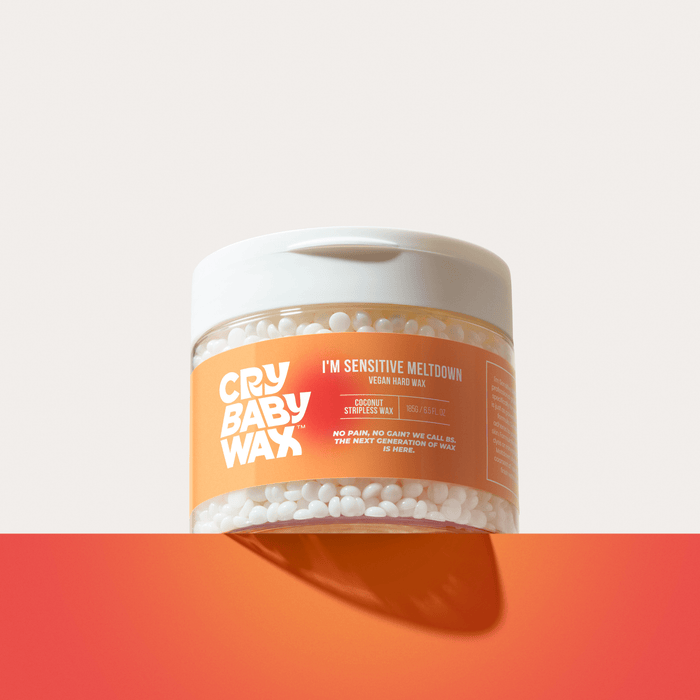
Wax beads or wax pots (depending on your preferred type)
-
Waxing strips (if you're using soft wax)
-
Wooden spatula or applicator sticks
-
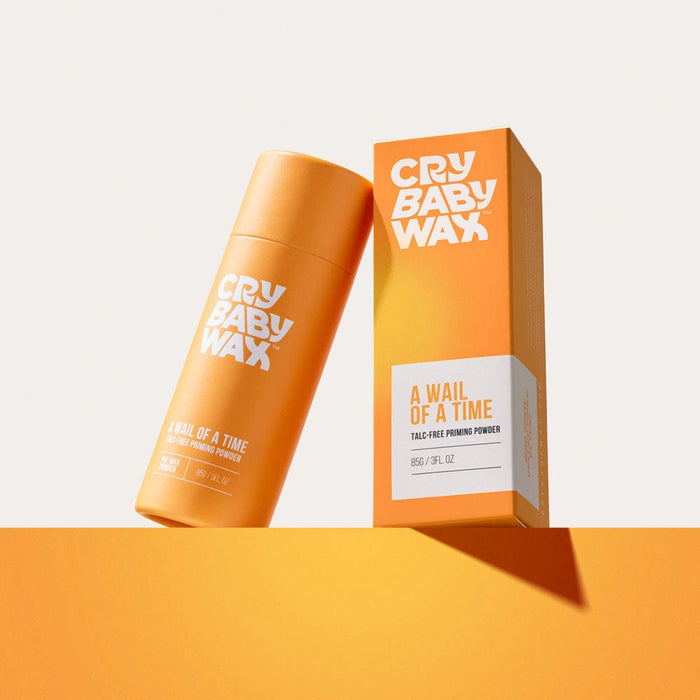
Talc-free powder (to prevent the wax from sticking to your skin)
-
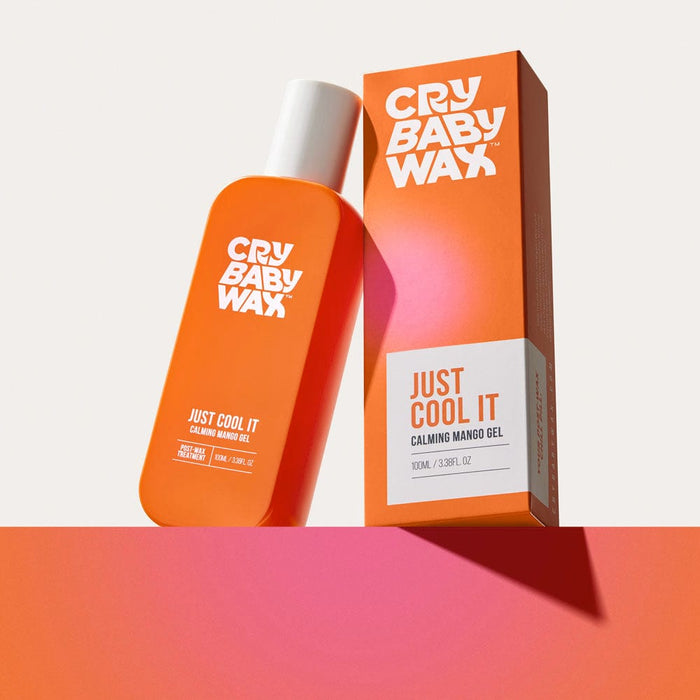
Aloe vera gel or post-wax lotion (to soothe your skin afterwards)
Having these items ready will make your waxing session smooth and stress-free!
Step 2: Set Up Your Wax Warmer
Plug your wax warmer. Set it to the recommended temperature. It takes somewhat 15- 20 minutes for the wax to melt. Yes, you guessed it right! It is a good time to prepare for your waxing procedure.
In preparation for this procedure, when the wax is being heated up, ensure your skin is fresh and dry. Ensure that the presence of any oil or lotions on the skin interferes less with the process by giving a rapid wipe-over with a clean towel.
Step 3: Test the Wax Temperature
Once the wax warmer is at the right temperature, check the temp of your wax. Ensure it is warm and not sizzling hot! Take a little bit of that spatula down into the wax warmer and test with a small part on the side of your palm. The sensation should be tolerable, as it should just feel warm - not too sizzling or icky. When it's over warm, turn it off for a minute!
Step 4: Apply the Wax
Now, we come to the fun part of applying the wax. Scoop the wax up with a wooden spatula, apply it to the portion you wish to treat, and be sure to apply it in a direction that is in line with the hair growth for the best results. Spread the wax evenly, yet thick enough to hold on to the strip, but not so thick it can't be spread.
Apply a thick layer of the hard wax (no strips are required). In the case of soft wax, apply it and put a waxing strip over the wax. Gently press the strip on your skin.
Step 5: Remove the Wax
Here’s where things can get a bit tricky—but don’t worry, you’ve got this!
-
For soft wax, try to pull the strip against the direction of hair growth. The quicker, the better. Use your other hand to grip your skin tightly as well to make it more painless and smoother. Pull in as parallel a line to your skin as possible to avoid tugging or pulling on your skin.
-
For hard wax: Simply wait for the wax to cool and harden. Once it has, grab an edge and pull it off swiftly against the direction of hair growth. It should come off cleanly and painlessly (well, relatively!).
Step 6: Soothe Your Skin
Let it be pampered for some time after waxing - just use some aloe vera gel or a mild lotion post-wax for that gentle, soothing, and cooling feeling. Some redness is normal after waxing, though this usually dissipates within the hour or so following the procedure.
Avoid hot showers and tight clothing also for the rest of the next 24 hours while letting your skin heal fully as well.
Step 7: Clean Up
After the waxing is completed, the place needs cleaning up. These wax warmers are easy to clean; the warmer and spatulas can just be wiped off with a cloth. The wax residue that has not dropped off will need to be removed with wax remover or oil.
If you are someone who is afraid of waxing pain, you can learn some other pain-free ways for hair removal.
Waxing Tips for Smooth Skin
To make your waxing sessions easier, here are a few expert tips to keep in mind:
-
Exfoliate Before Waxing
Exfoliating a day or two before your wax to get dead skin cells off your skin and make hair easier to pull out. Just remember not to exfoliate the night before since this will make your skin very sensitive.
-
Don’t Wax Over Broken Skin
Steer clear of areas with cuts, rashes, or any type of irritation; waxing these areas may burn sensitive parts, so it's ideal to skip until your skin has healed.
-
Start with Small Areas
When waxing, first try small areas. Also, it is better to do areas like your legs or arms first before targeting bikini lines and the underarms, as they are sensitive ones.
-
Be Consistent
The best results can only be achieved if waxing is done on a regular basis. The hair grows back thinner and softer with each session of waxing, hence easier and less painful as well. Here are some tips to prevent bumps after waxing.
Wax Warmers: A Smart Investment for Smooth Skin
Using a wax warmer at home can totally change your hair removal routine. First, it will save you time and money, but, more importantly, it will provide you with control and convenience for feeling good about your own body.
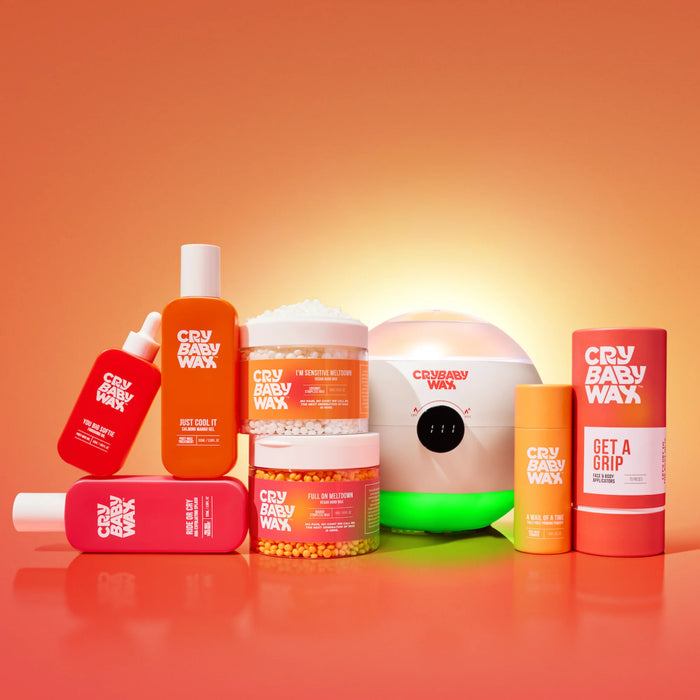
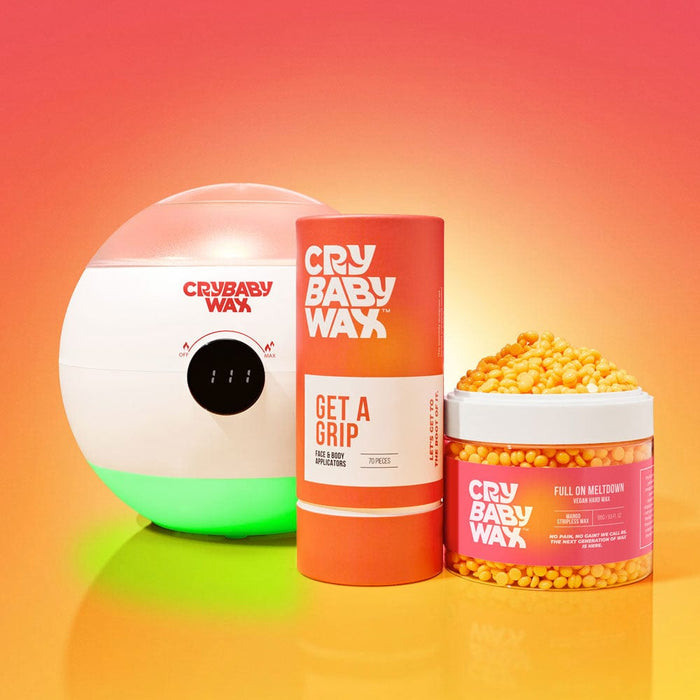
If you’re ready to get started on your smooth skin journey, check out Crybaby Wax. Our top-of-the-line wax warmers are designed for ease of use, long-lasting results, and a salon-quality experience—right from the comfort of your home.
Closing Thought
A wax warmer is an easy and affordable way to get smooth skin. It does not matter which part you are waxing. If you follow the mentioned steps carefully, you will surely get the best results. You just need to have the right tools and skills, and boom, you will be a pro in waxing in no time.
Don’t wait! Invest in your beauty routine today with Crybaby Wax, and enjoy smooth, soft skin all year round. Click here to shop now!
Happy waxing!