
· Por Kelly Smith
How to Use an At-Home Wax Kit for Professional-Level Hair Removal
For many people, the goal is to have perfect, hair-free skin without costly salon appointments. Thanks to developments in home beauty products, professional-grade hair removal results are now more readily accessible than they were years ago.
Long-lasting, smooth results come from the correct technique mixed with an at-home wax kit. This guide will lead you through the procedure, help you choose the best wax for hair removal, and provide ideas to ensure your at-home waxing experience is as successful and pleasant as possible.
Why Choose an At-Home Wax Kit?
At-home waxing provides a practical and reasonably priced approach to keep smooth skin, it has become rather popular. Without leaving the comfort of your house, an at-home wax kit will help you to get results equivalent to those from a professional salon.
An at-home wax kit might be a great option whether your goal is to keep your skin smooth and hair-free, be ready for a beach trip or special event, or just want to have your hair free.
Using an at-home wax kit mostly benefits you in that it lets you control the whole process. Your skin type and hair thickness will determine which wax is best for hair removal; you can wax at your own schedule without feeling pressed to do so.
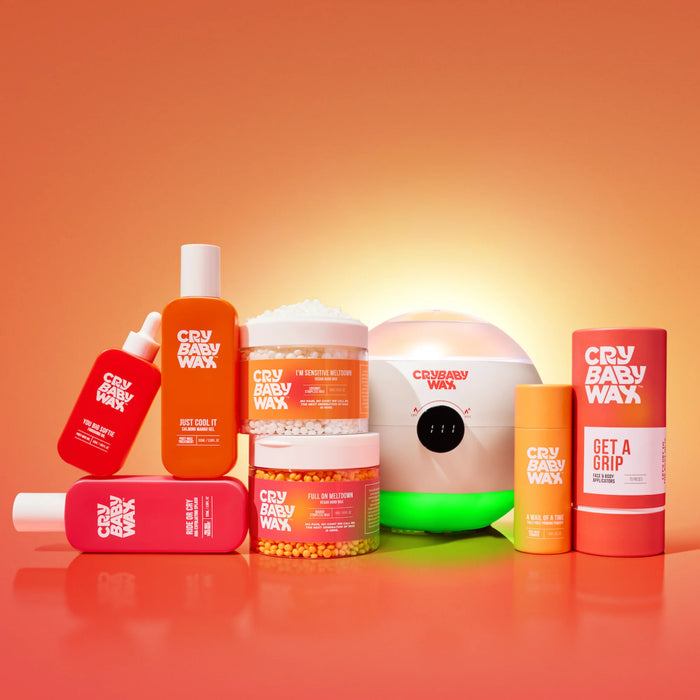
For people who are aware of the ethical and environmental impact of their cosmetic goods, several of the top at-home waxing kits now include vegan wax alternatives, which are created without animal-derived components and are cruelty-free.

Choosing the Best Wax for Hair Removal
Select an at-home wax kit according to the kind of wax it contains. The best wax for hair removal will depend on your own preferences, hair, and skin type, as well as your desired outcome. Several very common kinds of wax are shown here:
Soft Wax (Strip Wax)
The most often utilized kind of wax in salons and even at-home waxing kits is strip wax. Applied thinly on the skin, soft wax is removed with a strip of cloth or paper. For big areas, like legs and arms, it works great; on smaller, more delicate places, it's a little more fussy.
Hard Wax
Unlike soft wax, hard wax calls for no strips. It dries on the skin and thus can be taken off straight by peeling it back. Sensitive areas like the face, bikini line, and underarms would benefit from hard wax since it sticks more to the hair than to the skin, therefore reducing pain.
Vegan Wax
Cruelty-free products are highly appreciated. Hence, vegan wax is advised for most hair removal projects. Usually intended to be mild on the skin yet rather powerful in hair removal, vegan waxes are generally produced with absolutely no animal by-products at all.
Many of the best at-home waxing kits available today include vegan wax choices, therefore enabling you to more easily match your beauty regimen with your values.
You can read our other blog to learn discovering the ultimate wax for hair removal For silky and smooth skin
Complete Guide for Making Use of an At-Home Wax Kit
Although first, it may seem difficult to use an at-home wax kit, with the correct preparation and skill, you can get smooth, professional-grade results. Here's how to guarantee a good waxing session:
1. Get Your Skin Ready
Extremely important, before waxing, is preparing your skin. If it is clean and fastidiously exfoliated, the adherence of wax will be better to the hair and will give a smooth finish.
-
Clean Your Skin
Using a mild cleaner, wash the area slated for waxing. It will assist in cleaning the region from lotion, oil, or grime. Using a fresh towel, pat the area dry following washing.
-
Exfoliate
Exfoliating the skin a day or two prior to waxing removes dead skin cells and raises your hair from the root, making it easier for the wax to grab. Gently exfoliate with a scrub or work on your skin with a dry brush.
-
Reduce Long Hair
If the hair you are going to wax is longer than about a quarter of an inch, trim it with scissors or clippers. Then, the hair will have the optimal structure for the waxing to work as well as possible and to be less painful.
2. Prepare Your Waxing Station
Making a comfortable space for waxing with everything organized and within reach will ease the process and make it more pleasant.
-
Choose a clean and well-lit area
Choose a clean and well-lit surface to set up your wax station. Place a towel on your work surface where you are going to use wax to catch drips and spills.
-
Heat the Wax
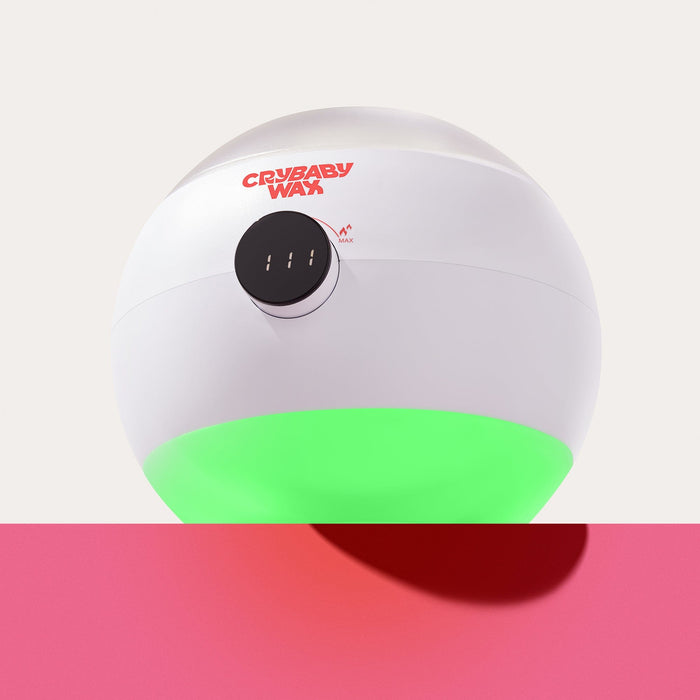
Most at-home wax kits have instructions for heating the wax. So, whether you use soft wax or hard wax, just follow the directions as to the heating temperature. The wax should be warm, not too scorching hot, in case it's heated more than the temperature bounds, it could lead to burns.
-
Test the Wax
Test a small portion on the inside of your wrist and make sure the wax is at a comfortable temperature and that you do not have any reactions to it before applying it to a larger area.
3. Apply the Wax
Now that your skin is prepared and your wax is ready, the time has come to start the waxing process.
-
Apply wax in small sections
Spread in the direction of hair growth with the help of the applicator stick that comes with your best at-home wax kit. Do this in sections and small areas at a time to help control and remove the hairs better.
-
Remove the Wax
If you are using soft wax, apply a paper or cloth strip over the wax and press down hard, pulling the strip or paper sharply off in the opposite direction of hair growth. If you are using hard wax, let it harden then slightly and lift one of its edges. In a swift motion, pull it off in the opposite direction of hair growth.
-
Hold the Skin Taut
To reduce pain and cut out the chances of bruising, hold the skin tight and taut with one hand while you use the other to remove the wax. It is important when you are waxing in highly sensitive areas like the bikini line and underarms.
4. Soothe Your Skin After Waxing
You will notice that this knocks off your skin a little bit and also reddened; thus some measures must be taken in order to do away with this.
-
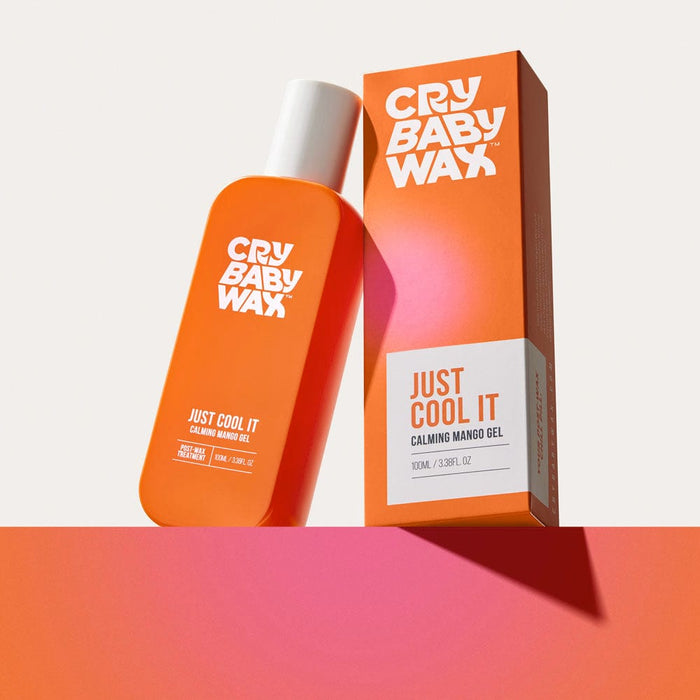
Cleanse and Cool the Skin
After you finish your waxing, use an after-wax cleaning wipe or a mild scent-free cleanser to clean off the excess wax. Follow this with a cold compress or even a cool shower to give the skin relief and to lessen the redness.
-
Moisturize Using a Soothing Lotion or Oil
Always go for a light emollient lotion or oil on your skin after waxing. Look for ingredients, such as aloe, chamomile, or tea tree oil, which have a soothing effect on your skin, reduce inflammation, and prevent ingrown hairs.
-
Avoiding Sun and Tight-Fitting Clothes
After waxing, the skin will be more sensitive to the sun. Thus, one should avoid direct sun rays for a minimum of 24 hours. Wear loose, breathing clothing to avoid irritation, especially if you waxed large areas, such as the legs or arms.

Advice for Maximizing Results Using an At-Home Wax Kit
Getting professional-level performance at home needs both attention to detail and some practice. These further pointers should assist you in obtaining the best results:
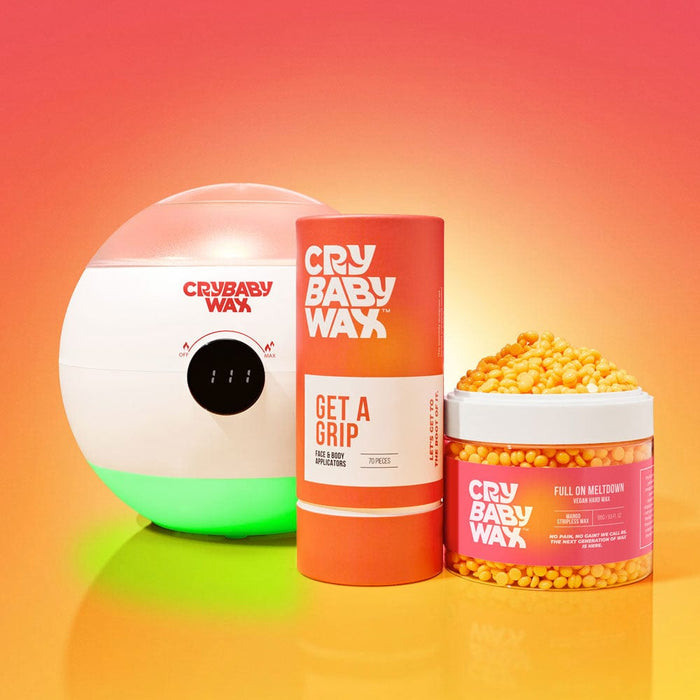
Select the ideal at-home wax kit for your purposes
Waxing kits are not made equal all around. Search for at-home waxing kits with premium wax (like vegan wax for hair removal), simple applicators, and clear directions to identify the best ones. Reading reviews can also enable you to find kits producing consistent outcomes.
Don’t Wax Over the Same Area Multiple Times
Avoid waxing the same area. Waxing the same place more than once can irritate and harm the skin. Use tweezers to remove a few hairs missed instead of more wax.
Stay Consistent with Your Waxing Routine
Maintaining consistency in your waxing schedule will assist in slowing down hair growth over time and ease the process's discomfort. Wax every three to four weeks to keep skin smooth and prevent allowing the hair to get too long between treatments.
Know When to See a Professional
Although at-home waxing is handy, occasionally, it might be advisable to see a professional. See a skilled esthetician if you have very sensitive skin, find yourself prone to ingrown hairs, or must wax a difficult location.
Conclusion
A good approach to getting professional-level hair removal in the convenience of your own house is with an at-home wax kit. You can have smooth, hair-free skin without the trouble of salon visits by selecting the best wax for hair removal, following correct preparation and application methods, and caring for your skin afterward.
Choose a Crybaby Wax for hair removal that keeps skin smooth and is less painful. Your confidence in your at-home waxing techniques will grow over time, and you will discover that you can easily produce salon-quality results. So choose the best at-home waxing kit for your requirements and start enjoying year-round gorgeous, smooth skin.